Facebook launched Business Manager in April 2014, yet many people still don’t know about it. In Facebook’s own words,
Business Manager integrates all your Facebook advertising campaign management efforts into one tool. It’s designed to simplify your marketing efforts.
Essentially, it’s a tool that lets you manage all of your ad accounts, Pages, apps and permissions in one central location. It’s perfect for large advertisers, agencies managing client accounts, small businesses who outsource marketing efforts, or anyone with more than one business property on Facebook. If you fit into any of these categories, I highly recommend you consider setting up an account.
If you’ve run ads with Facebook before (or Twitter Ads, Google AdWords, or the like), you know how powerful these advertising platforms are. They contain no shortage of targeting options, analytics & permissions—which often make them a headache to setup. I recently setup an account to manage WP Smackdown, and our parent company, Escape Creative. I documented the entire process so I could provide the ultimate Facebook Business Manager setup guide, from start to finish. We’ll cover account setup, extra security, email notifications, payment methods, company branding, setting up new ad accounts, and more.
Before You Start
If you already have a page that you’ve assigned to a personal profile, and you want to move that page into Facebook Business Manager, make sure you’re logged in under that personal profile account.
Facebook Business Manager: Setup Account
After you’re logged in with the account that owns your Facebook business page…
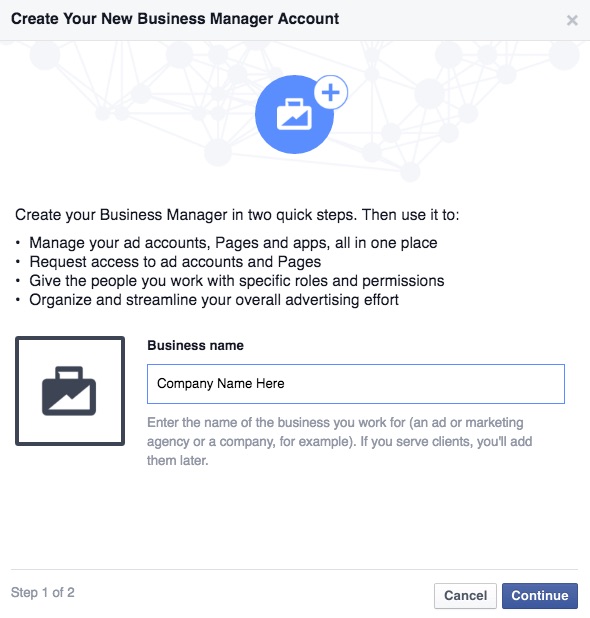
- Navigate to business.facebook.com
- Click the Create Account button
- Enter your company name
- Click Continue
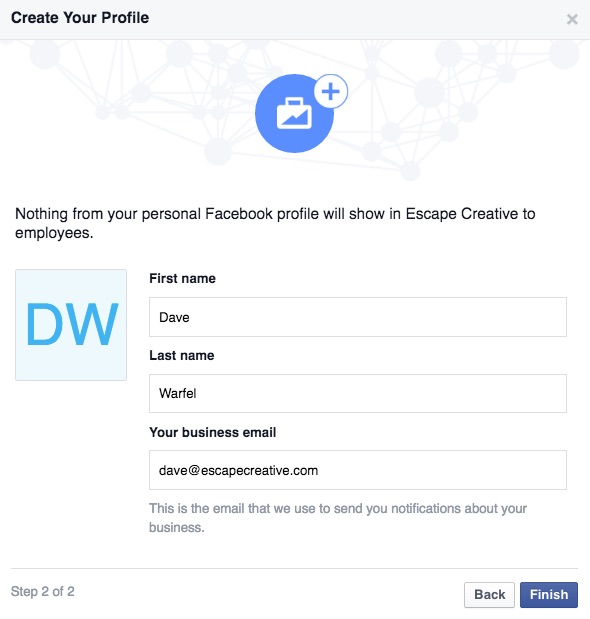
- Confirm your first and last name
- Enter your business email address
- Click Finish
Your business email will be used to manage your account. You’ll receive all Facebook Business Manager email notifications at this address, as well as requests from other business managers, ad accounts & pages to manage their assets.
Now you’ll be logged into your Facebook Business Manager dashboard.
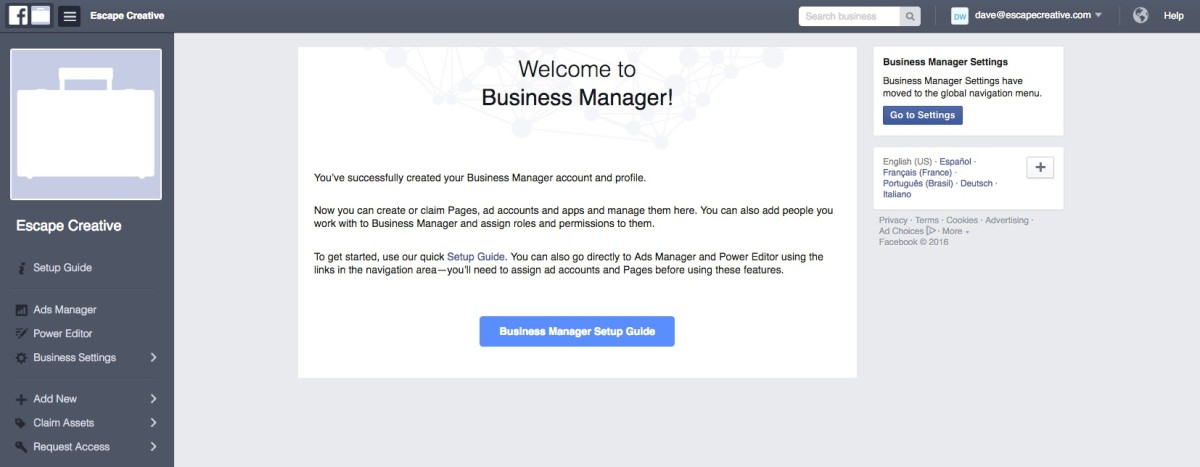
Facebook Business Manager: Setup Details & Info
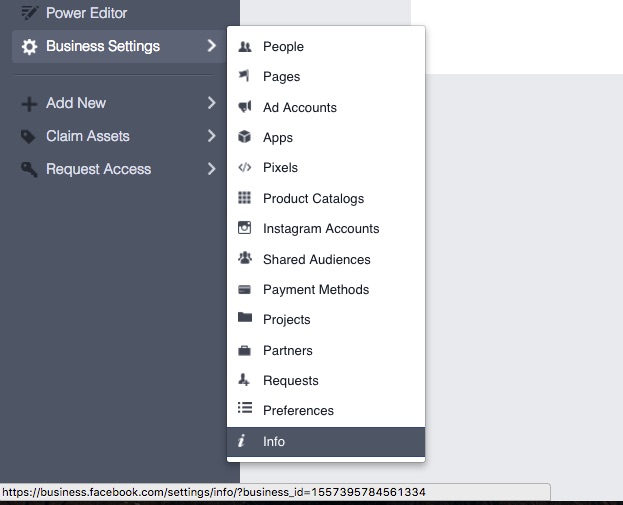
One of the first things you might want to do is upload a company logo. Your logo will appear next to the Facebook logo in the top-left corner, whenever you are logged into Facebook Business Manager.
![]()
Setup Company Logo in Business Manager
- In the left nav menu, go to Business Settings > Info (all the way at the bottom)
- Click the Edit button in the top-right corner
- Click Change Picture
- Upload your company logo
- Click Submit

Setup Login Approvals in Business Manager
You can add additional security to Facebook Business Manager by sending login approval codes to 1) everyone, or 2) admins only.

- Click Edit again
- Scroll down to Login Approvals
- Choose to enable them for:
- Admins only, or
- Everyone
- Click Save
Setup Email Notifications in Business Manager
Jump on over to Preferences. You’ll want to enable email notifications about certain events that happen with your Facebook ad accounts & pages.

- Click the Turn on Notifications button at the top
- Now you can select which business email notifications you want to receive
List of Facebook Business Manager Email Notifications

- Business Permissions – Receive notifications when another business requests permission to access your assets and when your requests to access assets has been approved or declined.
- Business Roles – Receive notifications when someone joins or leaves your business.
- Business Updates – Receive notification when there are changes to the settings of your business.
- Support – Receive notifications when Facebook support contacts you about your business.
- Pages – Receive notifications about Pages you manage through this business.
- Ad Accounts – Receive notifications about ad accounts you manage through this business.
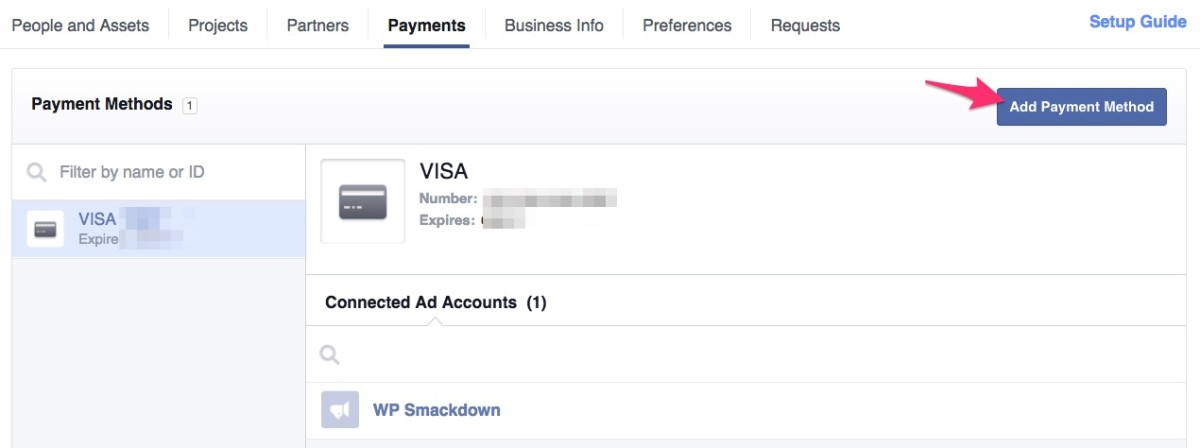
Setup Payment Method(s) in Business Manager
Before you can run ads in Facebook Business Manager, you need to add a payment method.
- Jump over to Payment in the top navigation (still under Business Settings)
- Click the Add Payment Method button
- Fill in your credit card details and click the button to finish
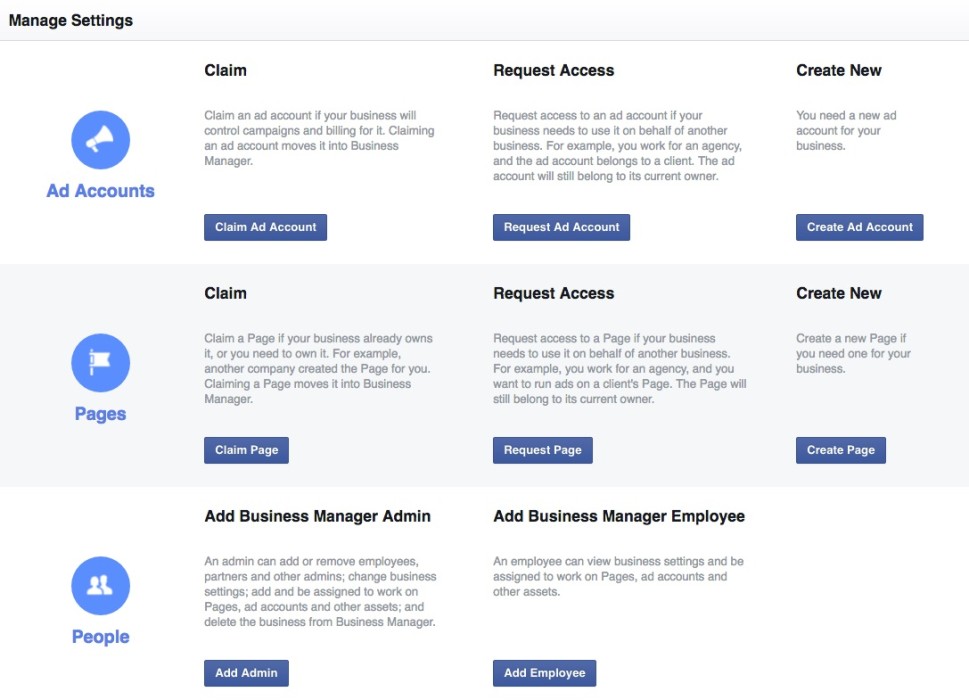
Now let’s go through Business Manager’s Official Setup Guide. The following steps will help you either claim, request or create a brand new ad account, which is necessary before running your first Facebook ad.
Add an Existing Ad Account to Facebook Business Manager
If you’ve previously setup an ad account under your personal profile, you’ll want to migrate it to Business Manager. If you’re setting up an account for the first time, jump to the next section.
NOTE: You can’t undo this. Make sure you want to move it here.
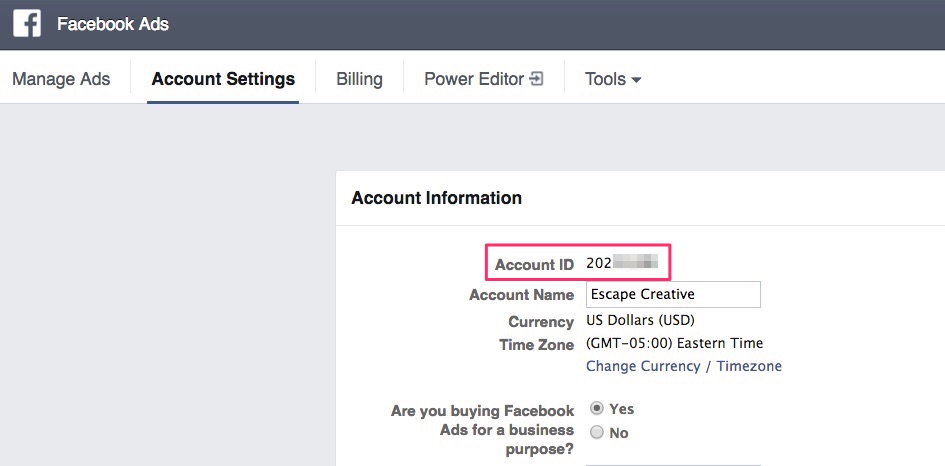
Before you can claim an ad account, you’ll need to have your Ad Account ID handy. To find your Ad Account ID…
- Pull up facebook.com in a new tab
- Click the arrow in the top-right corner
- Click on Manage Ads
- Click on Account Settings
- Your Ad Account ID should be shown at the very top
Now go back to Facebook Business Manager…
- Click the Claim Ad Account button
- Enter your Ad Account ID
- Check the box to agree that you can’t undo this
- Click Claim Ad Account
Now when you go to Business Settings > Ad Accounts, you’ll see the account you just claimed. All of the payment methods, billing history, reports, etc. should be pulled over into Business Manager.
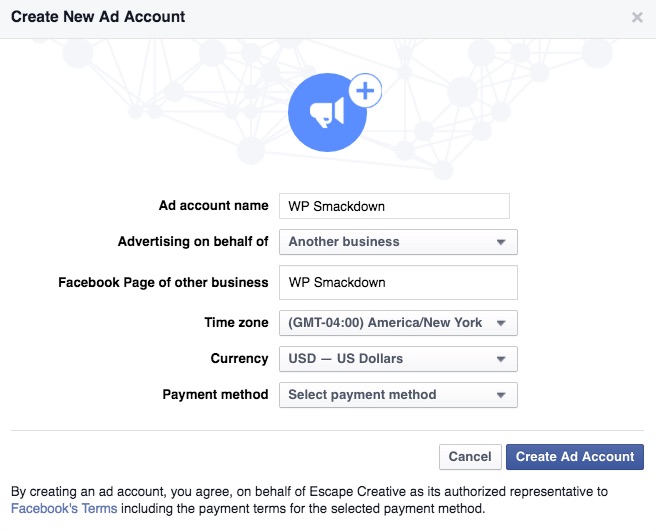
Create a New Facebook Ad Account in Facebook Business Manager
If this is your first time advertising with Facebook, you’ll need to create a new ad account.
- Navigate to Business Settings > Ad Accounts
- Click the blue Add New Ad Account dropdown button in the top-right
- Choose Create a New Ad Account
Now fill in the details…
- Type your Ad Account name
- Choose which page this account will be advertising for. Choose Another Business to start typing a new Facebook page in the search box.
- Choose your time zone & currency
- Choose your payment method – The one you added previously should automatically show up here.
- Click Create Ad Account
You’ll be asked if you want to add any people to this Ad Account. If you’re the only one managing it, you can skip this step for now. Otherwise, you can add account managers if you wish.
Following those steps will give you an excellent start with your Facebook Business Manager setup. Now you’re ready to run ads, track conversions, implement retargeting, manage your business pages, and much more.
What’s Next?
Now that your Business Manager account is setup, what should you be doing with it? Well, that depends on your goals. But here are a few additional resources to help point you in the right direction.
The following articles are in the process of being created. Please bear with me as I build out these resources.
Interested in Retargeting?
If you’d like to run ads using Facebook retargeting, you’ll need to first install the Facebook Pixel on your website. Give that a few days to start collecting data, and then you’ll be ready to create custom audiences and run Facebook ads to your website visitors.
More Next Steps Coming Soon
Stay tuned…
We Recommend
https://kinsta.com › wordpress-hosting
Fast and secure infrastructure, worldwide CDN, edge caching, 35 data centers, and enterprise-level features included in all plans. Free site migrations.
https://gravityforms.com › features
Create custom web forms to capture leads, collect payments, automate your workflows, and build your business online. All without ever leaving WordPress.
Leave a Comment